I'm going to admit it: I don't have a grasp of CSS anywhere near the level I should. As a developer focused on using PHP I've always neglected it to focus on the stuff I was more interested in, instead of making my pages pretty. I've used Sass and Less in the past, which made CSS more manageable for me, but still, it feels like an uphill battle to get web pages to look half decent.
So when I decided to build tomgreen.dev, I chose to build it using Tailwind. For anyone who has not used Tailwind, it is a utility-first framework that concentrates on giving you the building blocks to craft a webpage without writing custom CSS yourself. I am not a fan of CSS frameworks like Bootstrap or Bulma because I find them opinionated, but Tailwind CSS is different. It's just basic properties with some well-defined defaults. If you don't like any of those defaults, they are easily replaced by an easy-to-use config file.

I'm going to talk more about Tailwind later, but I will explain how I set up my blog using Gridsome.
Now, this website was already built on Gridsome. There was no real need for it, plain old static html with css would have been sufficient. Alternatively I could have built it in something in my comfort zone like Laravel. In the end, I decided to use a static site generator as I wanted to learn something new, and went with Gridsome.
Gridsome is a Vue.js-powered, modern site generator for building the fastest possible websites for any Headless CMS, APIs or Markdown-files. Gridsome makes it easy and fun for developers to create fast, beautiful websites without needing to become a performance expert.
Gridsome allows you to create attractive websites using Vue.js with features such as hot-reloading for faster local development, file-based page routing, static files generation for easy deployment, etc. On top of that, content can be pulled through Gridsome's source plugins, or some external APIs (WordPress, Contentful etc), and then stored in a local database where it can be accessed through the GraphQL data layer.
I figured this would be the perfect stack to build a simple blog, using Markdown to collect my blog posts. Once I was happy with the first pages on the site, I began building the blog.
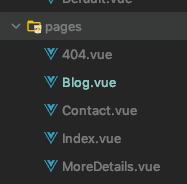
The first step was to add a new file in the src/pages directory. Any file created here generates a static page on the site. In this example Blog.vue will create our tomgreen.dev/blog page.
Next, I needed a test blog post to my site. I'm using Markdown for this, along with Gridsome's source-filesystem plugin.
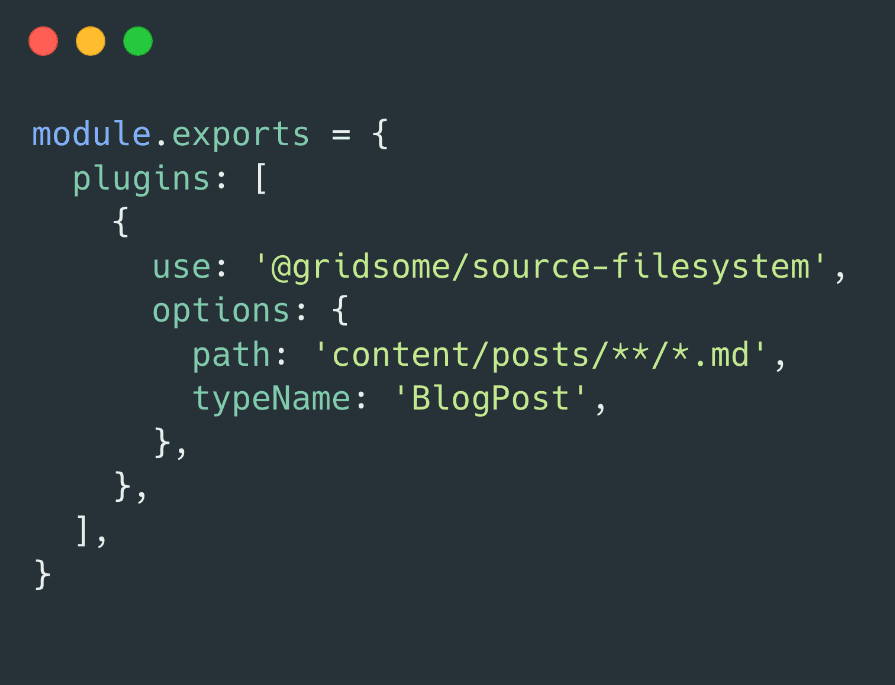
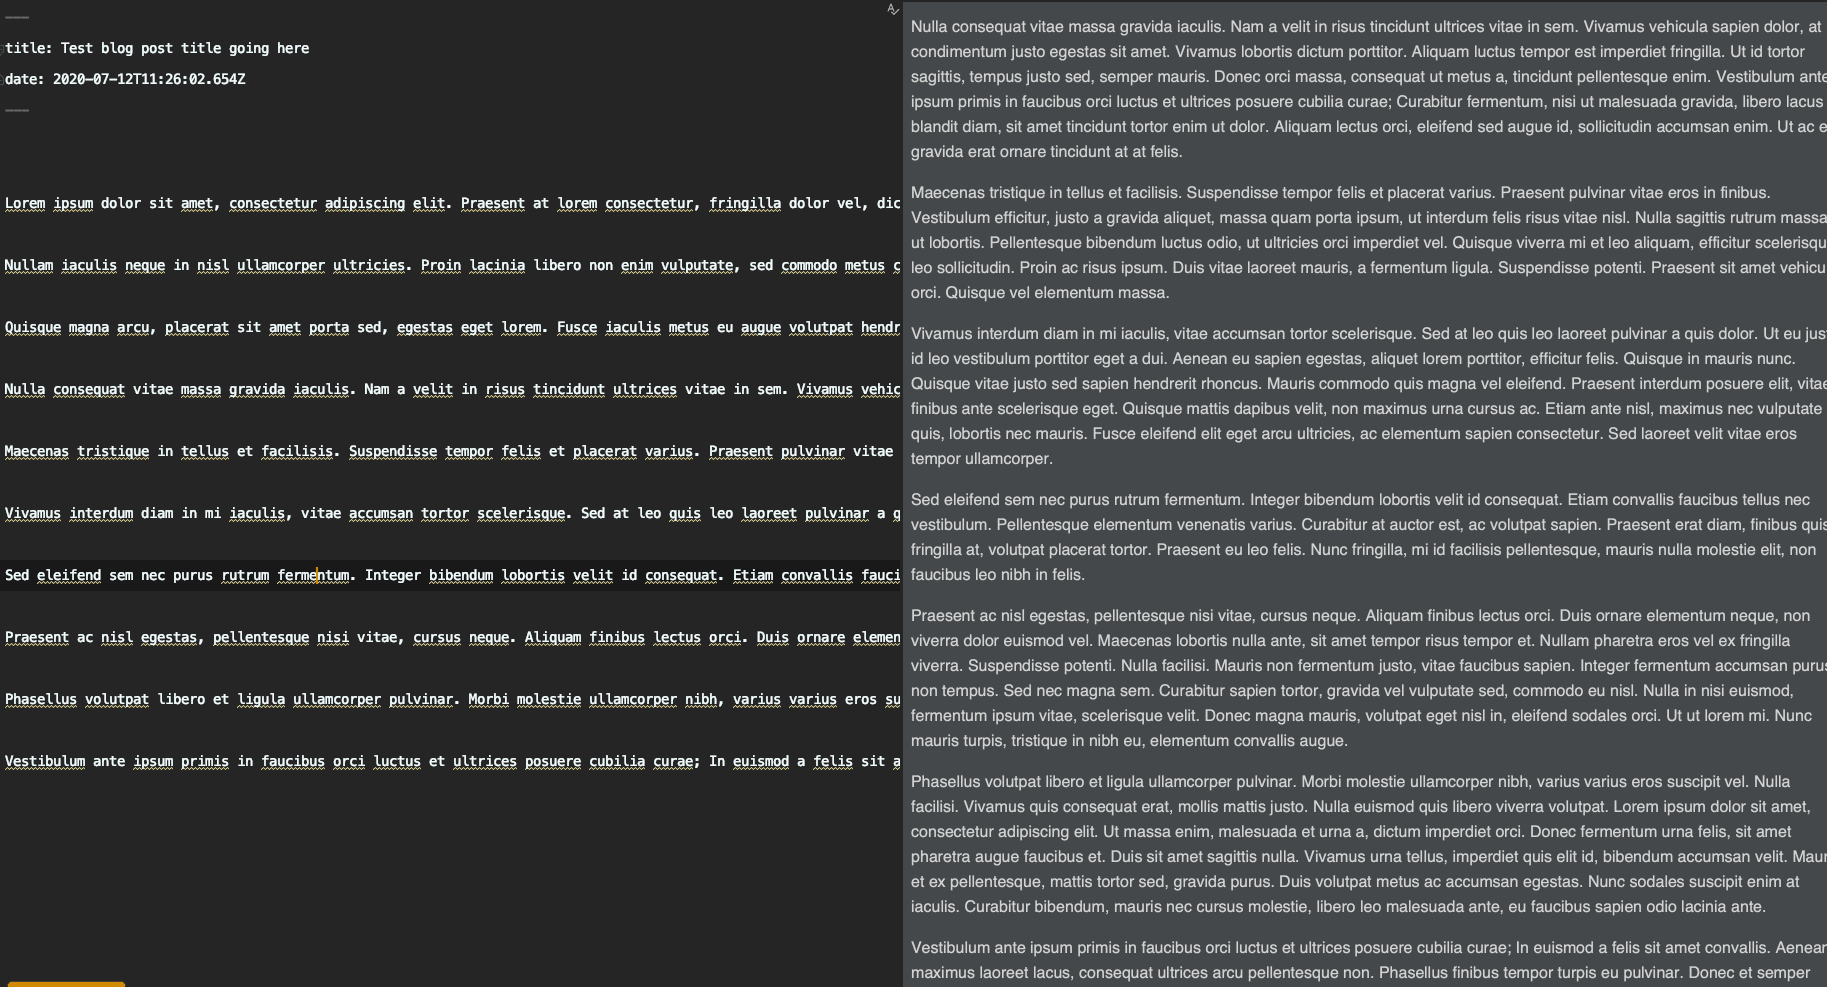
Here we have defined a path for our blog posts to go: /content/posts, and a typeName, which is what file we use when creating a single instance of a post (ie the page you are on now). Next, I created a file in /content/posts called test.md. In this file, I added some basic metadata at the top such as a title and date uploaded, and then added the blog post below. For sake of ease I just used lorem text for this, no blog posts had been written at the time.
But how do we get content from this Markdown file into our Vue page? GraphQL. GraphQL is a query language that allows you to query data in our filesystem like in the image below. You can read the Gridsome documentation for more information. Gridsome's development tool comes with a built-in GraphQL explorer allowing you to build and test your query in real-time.
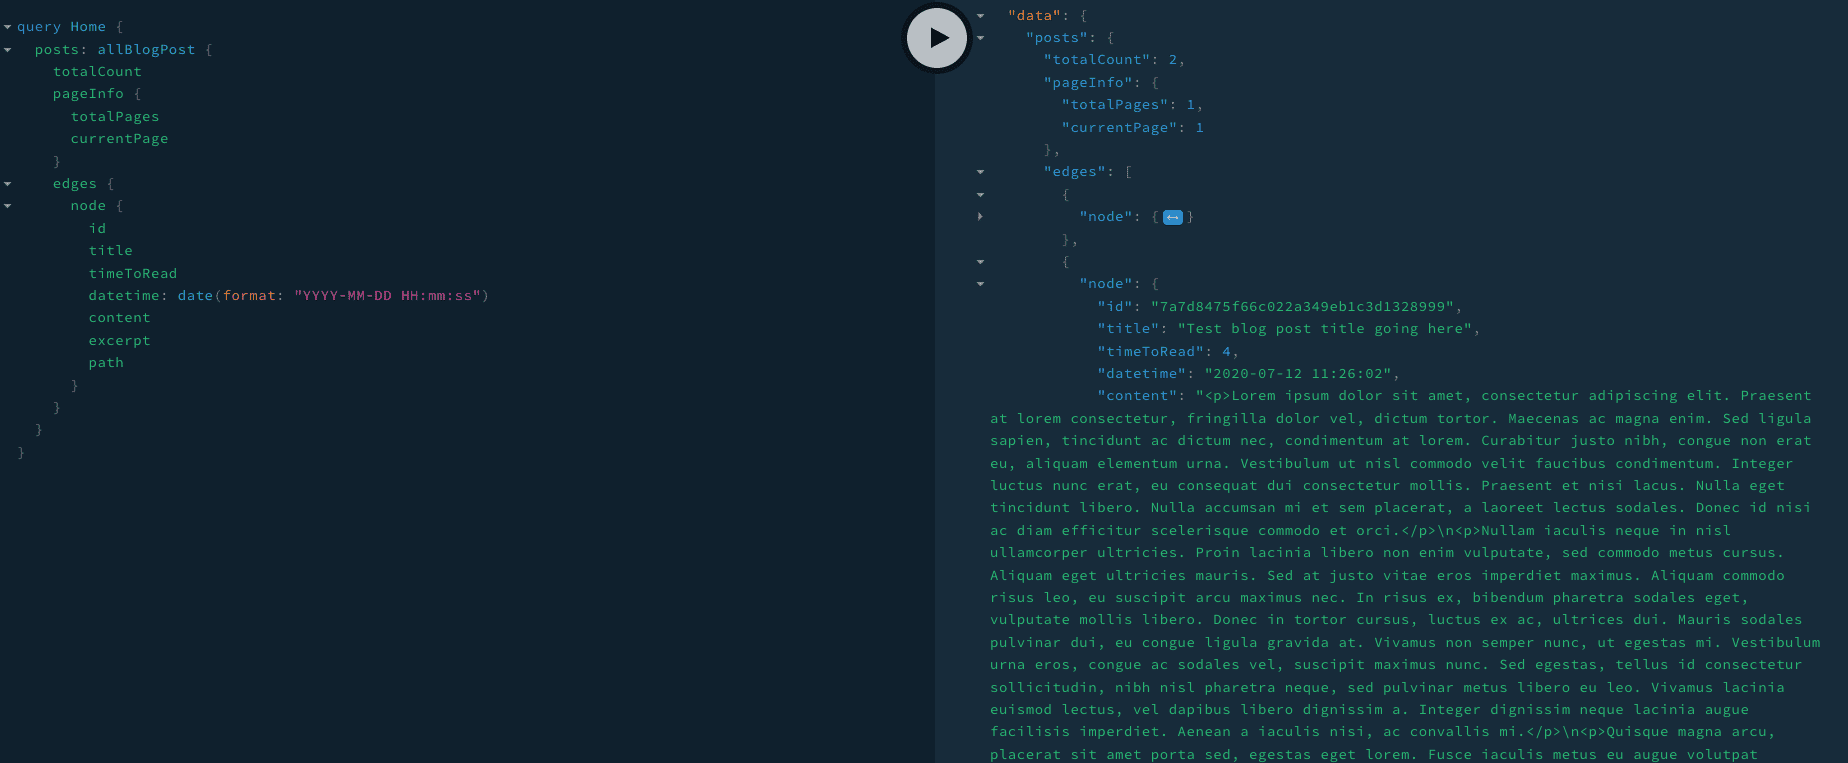
Now then have our posts (or post, since there is just one) in an array, accessible vis $page.blogPosts. At this point, I can create a new component that represents one post in the list, and then print out the list of blog posts using Vue's v-for directive. Since Gridsome is built using Vue, we have a lot of powerful functionality baked in.
<ul class="divide-y divide-primary-400">
    <post-item v-for="edge in $page.blogPosts.edges" :key="edge.node.id" :post="edge.node"/>
</ul>
To create a page for our blog posts, we have to create a file in the src/templates directory, we will call our's BlogPost.vue, since BlogPost is what we entered into our Gridsome config earlier on. At this point, the process is quite similar to what we have already done. We need to write a GraphQL query to get the blog post, and then we render it out on the page.
The body of the blog post is accessible via $page.blogPost.content. We can use Vue's v-html directive to populate this into a div tag, and Gridsome's source-filesystem plugin will automatically convert the content from Markdown into HTML. The only thing left to do was to style the content of the blog post.
You may have seen me using Tailwind in a snippet of HTML above. You can see how simple it is to use, you just add classes to the HTML. The classes are already generated for you, super easy! But how do we apply this to our Markdown blog post? Since we are just using the v-html directive, we can't access the html within it, and therefore can't add the classes that Tailwind provides.
At first, I thought the only solution would be to add a markdown class to my wrapper and style it using normal CSS, or a slight improvement would be using Tailwinds @apply function.

As it turned out, Tailwind released their official Typography plugin the same day I was working on this blog. The plugin is based on the same principle, you add a class to the wrapper and it auto applies typography styling to the child elements. In the case of this plugin, we add prose to any content we want to style.
<post-header :blogPost="$page.blogPost" />
<article class="max-w-xl md:max-w-2xl xl:max-w-3xl mx-auto px-6 sm:px-12 pt-16">
    <div class="prose mb-20 text-lg leading-normal text-gray-700" v-html="$page.blogPost.content" />
</article>
And that's all I had to do. I later used some of configuration options to style some parts of the plugin that didn't work with the colour scheme on the site - for example, blockquote border was coming through as white and wasn't visible.
Overall, this simple blog was super fun to build, and I'm really happy with how it looks thanks to Tailwind and it's Typography plugin. I'll probably expand the blog in time, maybe adding a tagging system for posts or something. I'm looking forward to exploring the power of Gridsome as I continue building this site.